The Hearth Floor
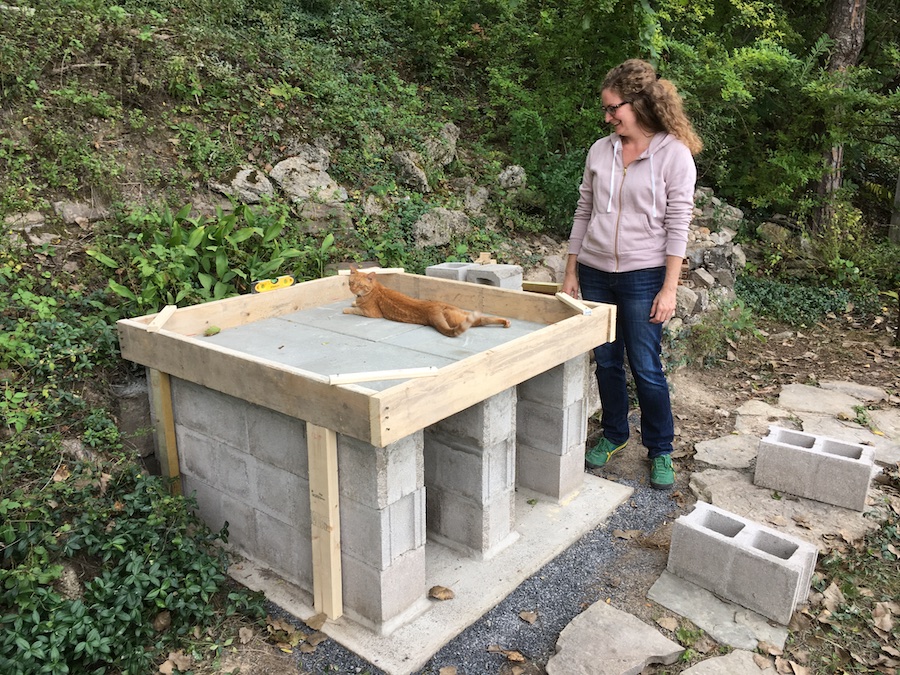
The next stage in the process was to build the insulated hearth floor. We re-used the 2x6 framing lumber from the concrete slab to create a form (4x4ft interior) into which to pour the floor, making sure that the top of the frame was level (good kitty):
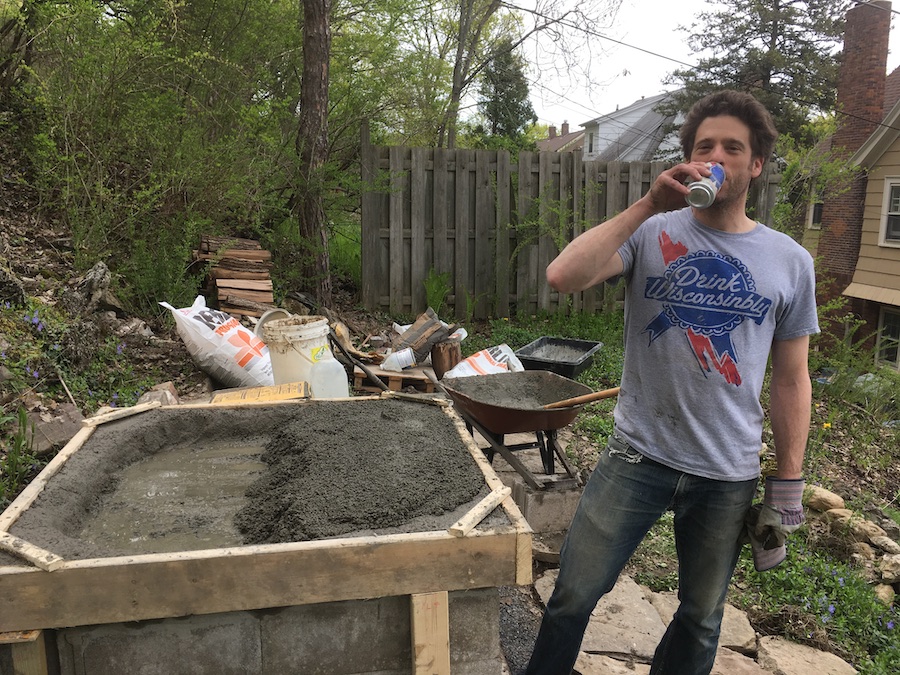
We filled regular concrete in the corners and along the edges of the form, and poured the perlite and cement insulation mix into the center, underneath where the oven floor will be:
We used a cement:perlite ration of about 1:5.5, and then added water until it reached and oatmeal consistency. (Alan Scott mentions a 1:6 cement:perlite ratio, p165.) The insulation layer is 4in thick, on top of the 2in paving stones. We bought 4 cu ft bags of relatively coarse perlite, with the largest pellets similar in size to gravel; I didn't record how many bags of it we used, but I think it was between 3 and 4.
Next came a thin bed of clay (1:2 ratio of clay:sand) for the firebricks:
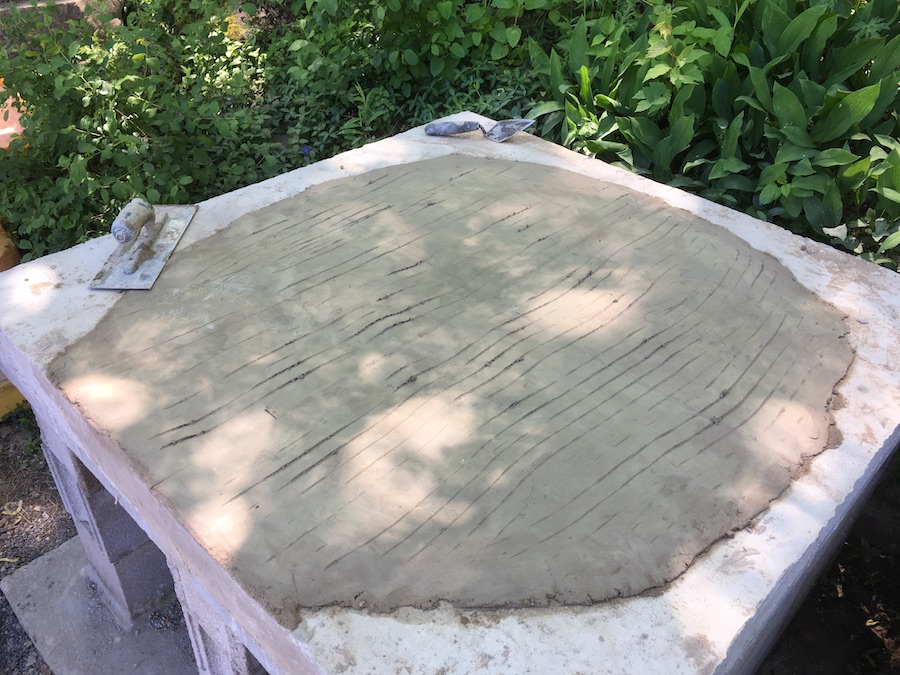
An alternative would be to use a bed of just sand (see Kiko p44), but I was worried about this not being firm enough. The bed of clay ended up being pretty difficult to get level, so I'd probably go with just sand if I did it again. Also, the thin layer of clay developed pretty significant cracks (though the oven floor has remained level over time).
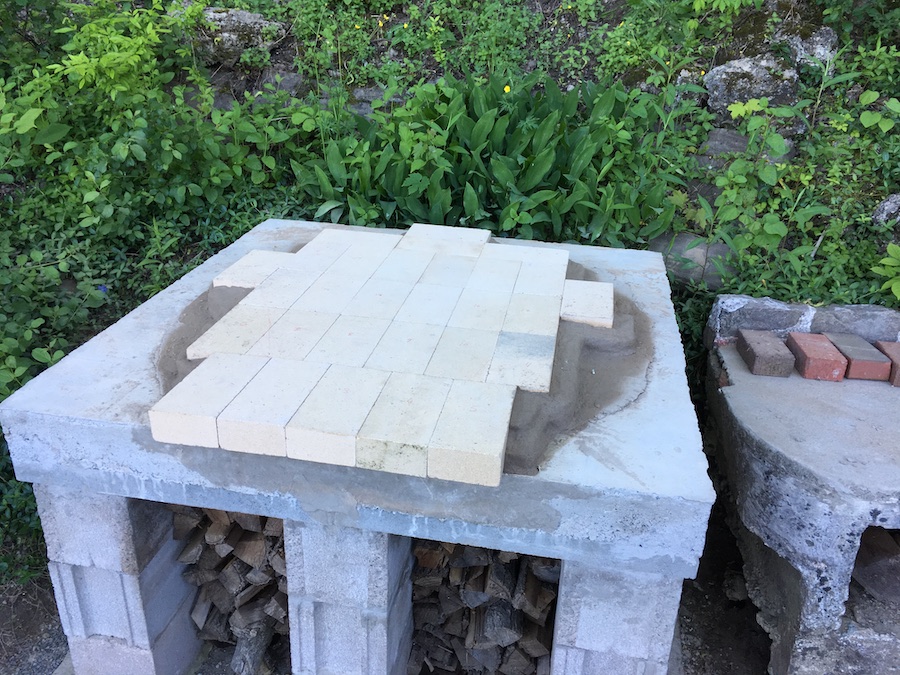
We then placed the firebricks, and added some clay around the edges to hold them in place:
Then came the arch, built using the door as a form:
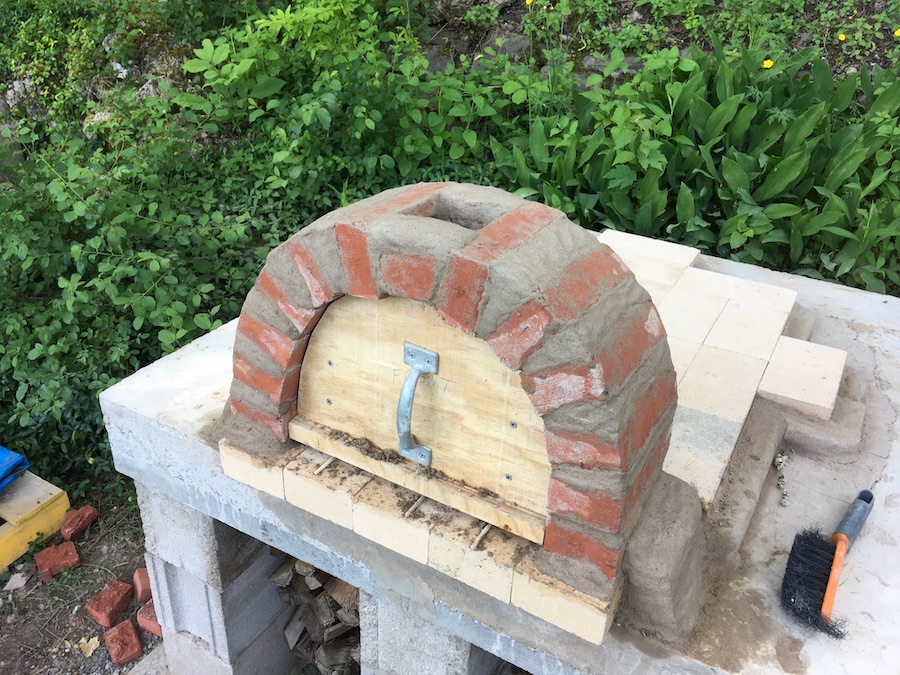
We placed chopsticks under the door so we could slide it out once the arch was complete. The chopsticks added 0.25in to the 10.5in door, for a total arch height of 10.75in. The original plan was to have it 10in high, but with the other adjustments mentioned below everything worked out fine.
We left an opening for a chimney at the top of the arch, about 4x4in. This does draw off some of the exhaust heat and smoke, but really an oven this size should have a 6in chimney (though a chimney isn't actually necessary).
The Dome and Thermal Layer
Next we outlined the footprint of the oven on the fire bricks (in red):
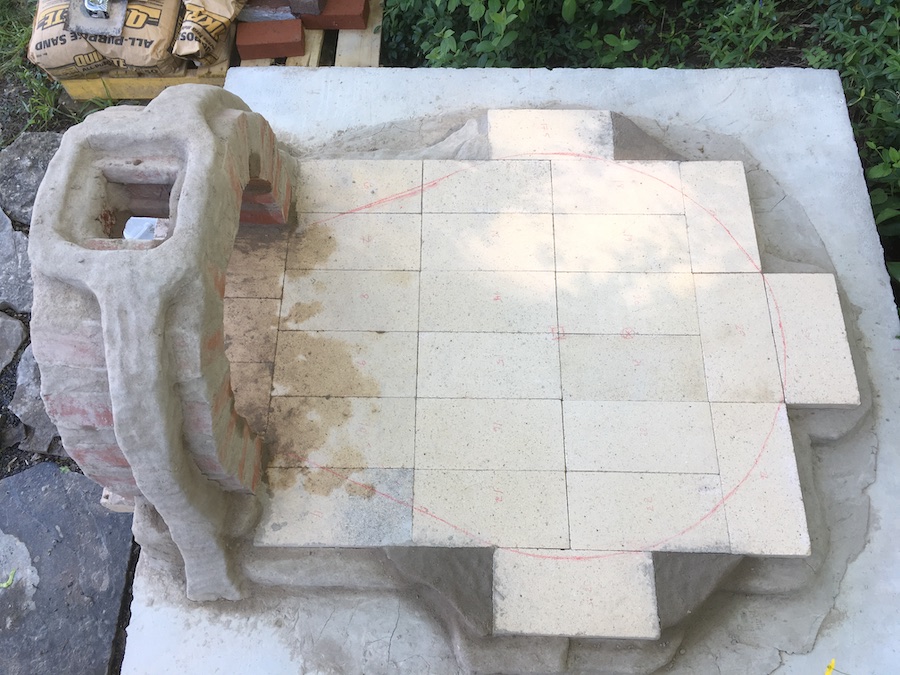
The oven has a 28in diameter, which required the three extra fire bricks that wouldn't be needed for a standard 27in diameter oven. We made it a little wider because we wanted to compensate a bit for the 15in wide archway (we also went with the egg-shaped footprint rather than a circular one). I'm not sure the extra width was really worth it, I'd probably go with the standard 27in diameter if I did it again.
The dimensions are: 28in diameter circle, then 4in from the edge of the circle to the edge of the arch, and then 8in of brick archway, with a 1.25in "lip" of fire brick at the entrance (overhanging the edge of the base by about 2in). This left about 9in between the edge of the oven floor and the back edge of the 4x4ft base, and about 10in on the sides, leaving enough space for the 3in thermal layer, 4in insulation layer, and 1in plaster layer.
Then came the sand mound that determines the shape of the interior oven chamber:
Given the 10.75in high archway, we used dowells cut to 10.5in (for the front) and 16.25 (for the highest point) to guide us in building the mound. The longer dowell was offset 4.5in away from the center of the 28in circle, towards the back of the oven (you can see the faint red marks in the earlier picture). With the 10.75in high archway and 10.5 high dowell, there remained small gap between the top of the arch and the top of the sand mound. Once the clay was added on top, this created a lip against which the door could seal.
We used 8.5 50lb bags of sand for the mound, moistened to hold together, and covered the whole thing with a layer of wet newspaper (so we'd later know when we'd hit the edge when digging the sand back out). The next day we added the 3in thermal layer:
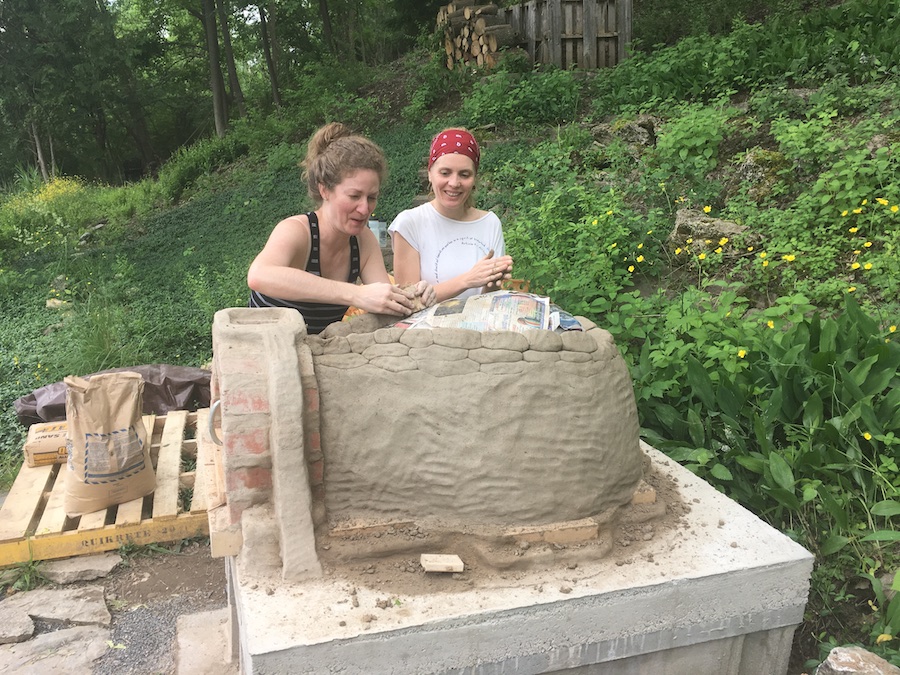
We had help from friends for this, but with 4 people it still took most of the day to do this. Again, this is with Hawthorne 40 mesh clay mixed with sand at a clay:sand ratio of 1:2.5. We used about 2 50lb bags of Hawhorne 40 mesh clay and 6 bags of construction sand for the whole thing. We mixed it in a tarp in three batches, so lots of "cob dancing" over the course of the day.
It's important to add the correct amount of water to the clay/sand mixture: too dry and the indivdiual balls won't stick to each other, but too wet and you get slumping or bulging towards the bottom of the walls creating an uneven thickness. The general rule is that if you drop a ball of clay from shoulder height, it should retain its shape fairly well (maybe showing some cracks), and neither break into pieces nor flatten into a pancake. There are videos here and here that demonstrate this.
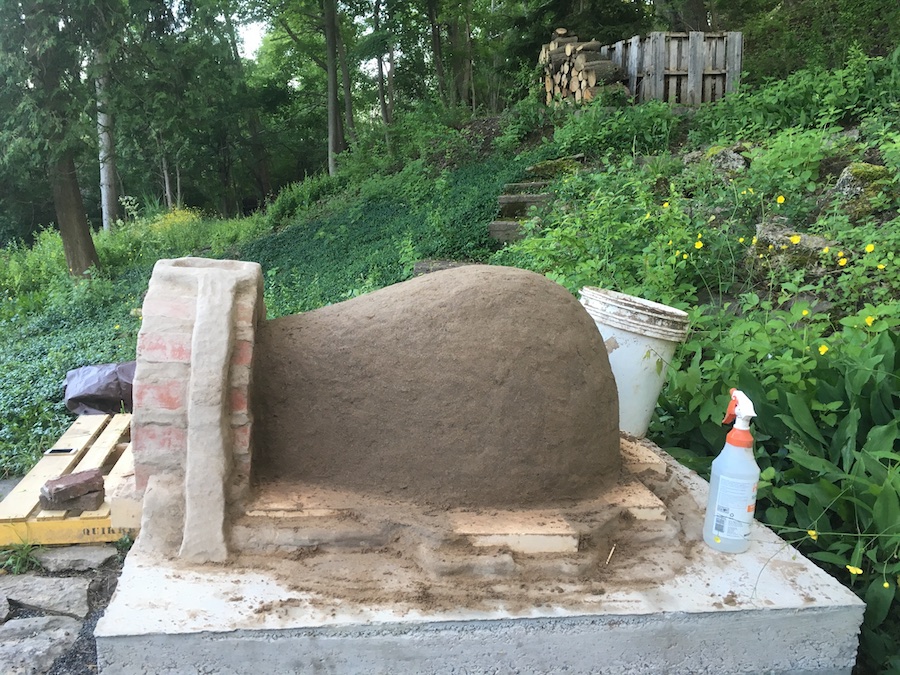
Here is the finished thermal layer:
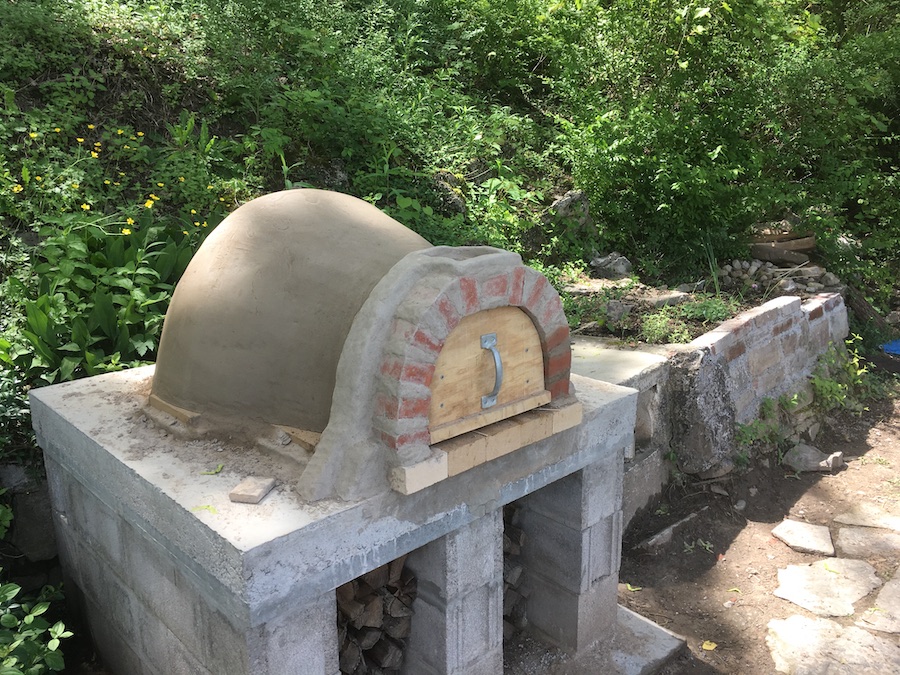
We removed the sand from inside a week later. There was virtually no cracking in the clay as it dried, which was great. It did take quite a long time for it to dry, even with occasional small drying fires, in part because we frequently had rain requiring us to keep a tarp over the oven. It ended up being three weeks between the day we added the thermal layer and the day we started on the insulation layer.
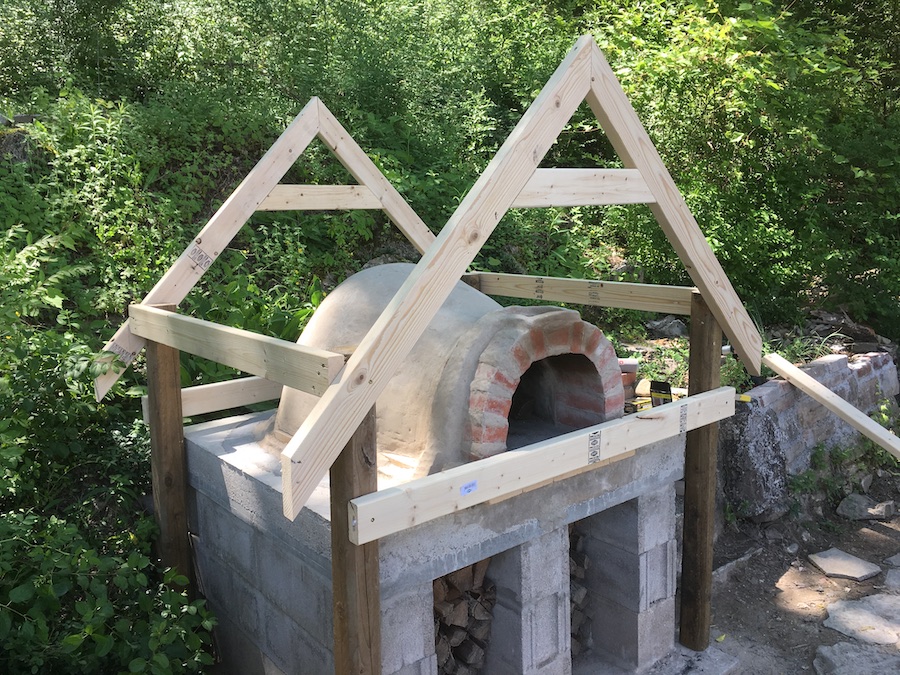
While we waited we started work on a roof for the oven:
We also passed an inspection by the city for a permit for the oven that we had applied for earlier. Not sure this was necessary, but we didn't want to have a neighbor complain and the fire department come and tell us to tear it down. I think the permit people classified it as an outdoor bbq 😆